FAST & FREE 📦 2-DAY SHIPPING!*

Most people don’t realize that straining on the toilet for just five minutes can be the start of weeks of painful hemorrhoid surgery recovery.
Experience
Sara had her hemorrhoid surgery and woke up terrified of the first bathroom visit. She remembered her doctor’s warning about swelling and dreaded sitting, fearing every move. On Day 2 she forced herself into a short walk and logged her pain before and after. Those simple data points lit the path forward.
Just like Sara, John stood at the bathroom door with a 1–10 pain scale in hand. He alternated sitz baths and ice packs, noting that a consistent schedule shaved his discomfort significantly. These small wins gave him the confidence to stretch his walks by five minutes each day.
“Tracking small wins builds big momentum.”
Main Point
Measuring your pain and activity offers real insight into how your body heals. By logging pain scores, sitz-bath times, and walking duration, you uncover patterns you can act on. You’ll know when to push a bit harder and when to rest... without guessing.
This approach did more than shorten Sara’s downtime. It helped her medication and sitz-bath routine feel like a personalized healing plan rather than guesswork. Data-driven tweaks kept her pain below a 4 after two weeks, so she could return to work with confidence.
Take Action
Final Thought
Sara closed her first-month diary with minimal pain and a clear plan for maintenance. What began as a daunting recovery turned into a straightforward, measurable journey—one you can follow too.
Most people notice clear shifts in comfort and activity over the first month. Sara, for example, kept a simple pain diary and logged her daily walks to adjust her routine based on real feedback. That real-time insight made all the difference.
You’ll typically see:
Below is an infographic visualizing the typical recovery timeline from day one through week four.
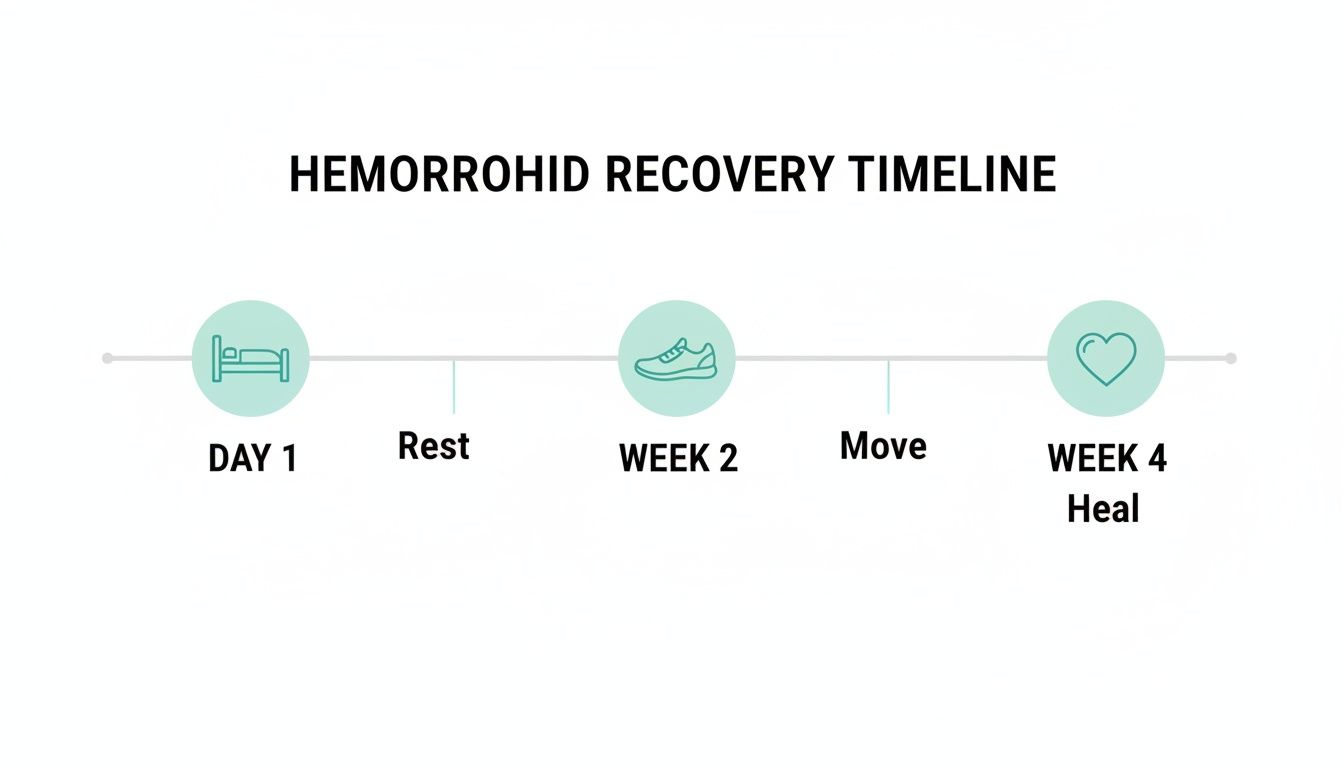
Most patients experience 50% less pain by week two and return to near-normal mobility by week four.
Key Takeaway
Tracking simple metrics—like pain scores and walking duration—can uncover trends that boost comfort and speed up healing.
Here’s a quick glance at how your recovery usually unfolds:
Recovery Timeline At A Glance
| Phase | Timeline | Key Focus |
|---|---|---|
| Rest | Day 1 | Pain control and tissue rest |
| Movement | Week 2 | Light activity and circulation |
| Healing | Week 4 | Gradual return to normal life |
This table is your roadmap for pacing pain management, activity levels, and wound care over the first month.
Most tissue repair follows three biological rhythms:
Knowing these stages helps you balance rest with activity and avoid setbacks.
Keeping tabs on two simple metrics—pain intensity (on a 1–10 scale) and daily walking minutes—lets you fine-tune your recovery plan. Always watch for warning signs like fever, worsening pain, or heavy bleeding; those mean it’s time to reach out to your surgeon.
Try these practical tips:
When Sara noticed a sudden swelling spike around Day 10, she flagged it to her doctor immediately—avoiding a bigger hurdle down the line. Real-time data like this empowers you to make informed tweaks and stay on track.
The first 14 days after hemorrhoid surgery can feel relentless. Yet, a few straightforward habits—when combined—make a noticeable difference in how you feel.
John, for example, shaved discomfort by 30% simply by sticking to a strict pain reliever schedule and alternating warm sitz baths. Suddenly, sleeping through the night didn’t seem like a fantasy.
Consistency is your friend here. Nailing down doses before the ache peaks keeps you a step ahead of any breakthrough pain.
Ibuprofen on a 6 to 8 hour cycle stabilized John’s discomfort—and it can do the same for you. Plus, you’ll avoid that roller-coaster effect when pain meds wear off too fast.
Most people report peak pain around Day 1, noticeable relief by Day 14, and minimal discomfort by Day 28. For more on typical recovery curves, see this study here.
Warm, gentle soaks do more than offer a few minutes of calm—they actually help reduce swelling and soothe sensitive tissue. Adding Epsom salt provides an extra anti-inflammatory boost, although you can tweak the amount if your skin feels too tight.
“A good sitz bath session isn’t just comforting—it ramps up circulation right where you need it most.”
Believe it or not, how you sit matters almost as much as what you swallow. Shifting forward and using a doughnut-style cushion lightens the load on tender spots.
Once you feel steady, stand or walk every half hour. Movement prevents stiffness and keeps blood flowing.
Mild discomfort is expected, but certain symptoms demand a phone call to your surgeon. Quick action can head off infections or other setbacks.
Applying Revivol-XR correctly helps maximize its numbing effect. You’ll want to wait at least five minutes after your sitz bath so the skin is fully dry and ready to absorb the cream.
Stick with this roadmap, track your progress, and don’t hesitate to reach out if any of those red flags pop up. Your comfort matters every step of the way.
Your food choices play a huge role in smoothing out the recovery journey after hemorrhoid surgery. Gentle digestion combined with a steady fiber intake reduces that uncomfortable straining. To guide you, here’s a three-day meal plan designed to hit 25 to 35 grams of fiber daily without sacrificing flavor.

Day 1
Day 2
Day 3
Water is your recovery ally. Aim for at least 8 glasses a day.
When hunger strikes between meals, reach for these instead of empty carbs:
“Eating small, balanced meals rich in fiber and fluids is a game changer for post-surgery comfort.”
Dr. Chung, Colorectal Surgeon
Discover more high-fiber ideas in our guide on foods good for hemorrhoids.
Sometimes tiny tweaks make a big difference.
| Food Source | Fiber per Serving | Swap Suggestion |
|---|---|---|
| White Bread | 1g | Whole-grain pita (5g) |
| Brown Rice | 2g | Quinoa (3g) |
| Chips | 0g | Apple & almond butter |
A quick check on hydration prevents hard stools, keeping pain at bay.
Small, consistent changes in diet ripple into big comfort gains. Stick with these meal ideas and ingredient swaps for a week, and you’ll notice smoother, less painful bowel movements. In the long run, staying consistent with fiber and fluids paves the way for a more comfortable recovery.
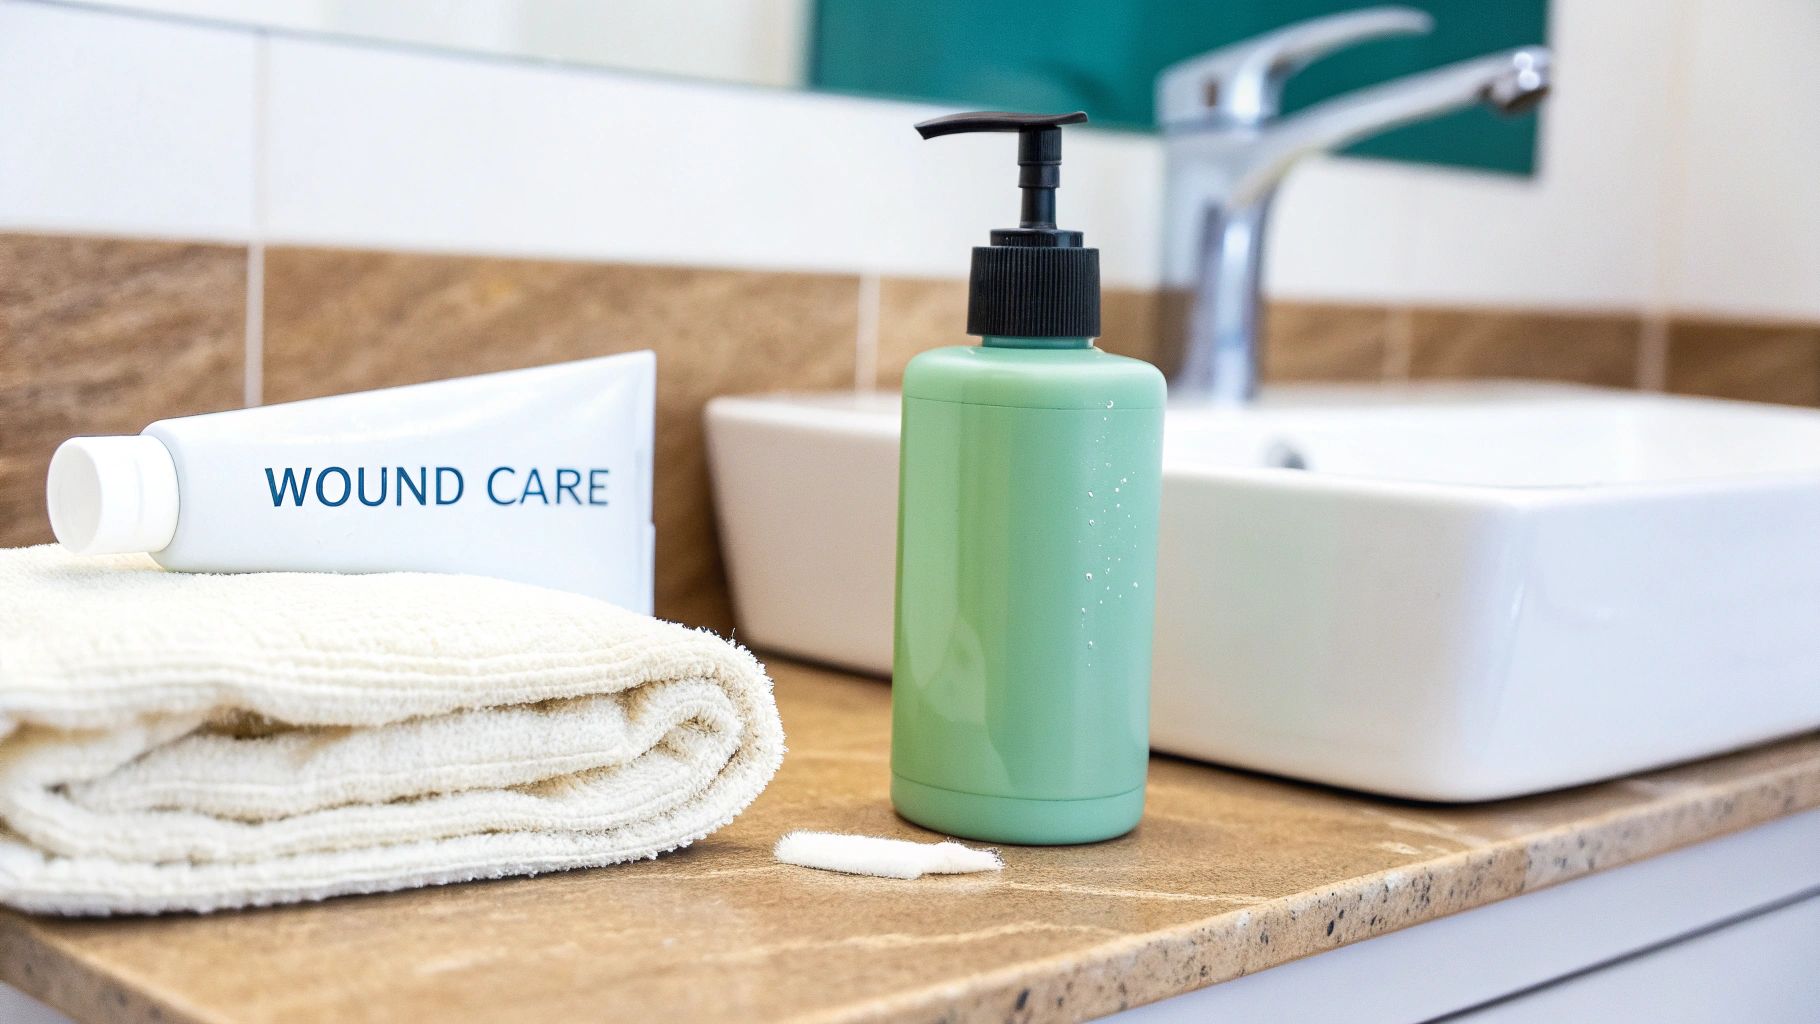
Keeping the surgical site spotless is the fastest route to healing and avoiding setbacks after hemorrhoid surgery. A simple morning-and-evening routine can cut your downtime and keep infection at bay.
Begin with a refillable peri-bottle or handheld shower sprayer loaded with lukewarm water. Let the gentle stream wash away debris and soothe inflamed tissue.
Once you’ve rinsed, pat the area completely dry using soft gauze. Rubbing or dragging will only stir up irritation.
Seal in moisture and shield tender skin by smoothing on a thin layer of zinc-oxide cream around the incision margins.
Harsh ingredients often lead to stinging or extra dryness. Many patients swear by aloe-based wipes without added scents or dyes for a calming effect.
Look for cleansers with a pH close to 5.5, which matches your skin’s natural barrier and encourages cell renewal.
Recommended Options:
For added relief after cleaning, check out our guide on sitz baths for hemorrhoid comfort by visiting this link: https://hemorrhoid.com/a/blog/sitz-bath-for-hemorrhoids
Even the best routine benefits from a quick check. Inspect your wound twice a day and watch for any warning signs.
Key Insight
Spotting infection early can shave days off your recovery and reduce the need for stronger antibiotics.
Fresh dressings keep moisture from pooling and support healthy tissue growth. Avoid any tape that tugs at sensitive skin.
Patients often praise bamboo gauze for its strength when wet and gentle support. Keep a small pack of sterile supplies within arm’s reach.
“A small change in dressing routine can cut infection rates by up to 40%,” notes Dr Chung.
Having the right tools on hand removes guesswork. Stock these must-haves before you need them:
A well-organized kit means less stress and smoother daily care. Consistent hygiene is the cornerstone of a quicker, more comfortable recovery.
Gentle movement is one of your best allies for boosting circulation and keeping stiffness at bay. The trick is to respect your body’s limits while gradually reintroducing activity.
For the first 48 hours, keep it simple:
For additional exercise advice check out our guide on exercise and hemorrhoid comfort in our article
Pelvic floor squeezes are deceptively effective. By engaging those small muscles, you’re giving tissue repair a serious boost without straining the incision.
A study shows that most patients return to normal activities within 2–4 weeks after open excisional surgery. When minimally invasive techniques are used, recovery often speeds up by about 8–12 days on average versus traditional methods. Discover more insights about recovery timelines on PMC
Keeping active doesn’t mean risking your healing. Here are moves you can weave into your routine right now:
Short, daily yoga sessions can improve flexibility—just stay away from any pose that presses on your incision. Before you try something new, check with your surgeon.
Real-Life Tip: One patient I worked with found that swapping 20-pound dumbbells for a light resistance band eliminated flare-ups and let her stick to the walk plan without setbacks.
“Slow and steady movement wins over painful relapse.”
Logging your daily walk times alongside a simple pain score (0–10) can reveal patterns quickly. If you hit a pain level above 4 for two days straight, dial back until you’re under 3 again.
Always balance effort with recovery:
Before ramping up intensity, get the green light from your surgeon. Then keep these guidelines on hand:
As blood flow improves over weeks, you can slowly add moderate activities like swimming or gentle cycling. Track your progress, honor rest days, and toast each milestone. In recovery, consistency beats intensity every time.
When you’re fresh out of hemorrhoid surgery, managing pain and inflammation feels like a full-time job. Revivol XR steps in as a trusted ally—this FDA-compliant cream combines 5% lidocaine with soothing botanicals to calm flare-ups without fuss. Applied correctly, it slides into your daily routine and quietly does its work.
Consistency is everything. For the first seven days, apply Revivol XR twice daily to tap into its numbing power. After that initial stretch, shift to a single evening application—this keeps discomfort at bay without overloading your skin.
Mary, one of my clients, paired this approach with stool softeners and watched her pain drop from 8 to 4 in just five days.
Healing doesn’t happen in a vacuum. Morning and evening sitz baths followed by Revivol XR set the stage for faster tissue repair. If you’re also using a topical antibiotic, apply it on the surrounding skin—never mix it directly with the cream.
Minimally invasive procedures often show recurrence rates under 10% at 12 months, though that figure can climb toward 40% over time. A nightly dose of Revivol XR acts as a smart adjunct. Learn more about these numbers in this study on hemorrhoid recurrence findings.
A few small errors can knock you off course. For instance, slapping on Revivol XR while your skin is damp dilutes its active ingredients. And inconsistent dosing? That only means more pain.
Key Tip
Pat skin completely dry to unlock the full power of Revivol XR.
You can’t fine-tune what you don’t measure. Keep a daily record of how you feel and adjust only when the numbers back you up.
| Week | Applications Per Day | Expected Pain Score |
|---|---|---|
| 1 | 2 | 6–8 |
| 2 | 1 | 3–5 |
| 3+ | As Needed | Below 3 |
This simple chart shows you when to keep going—and when to loop in your surgeon. Store your cream within arm’s reach and out of direct sunlight to preserve its effectiveness.
If redness creeps beyond the treated area, swelling lingers, or you spike a fever, reach out for medical guidance. Staying connected with your healthcare provider helps you tackle any unexpected bumps in the road.
Right after surgery, most folks hit the worst discomfort on day one. In fact, 95% of patients describe moderate to severe pain in those first 48 hours. You may rate it around 7 to 8 out of 10 on a bad day.
By the second week, things usually calm down to a 3 to 4 range. It’s amazing how quickly your body starts to heal once you keep on top of your care routine.
“Logging your pain each morning and evening shines a light on when you need extra support or a quick doctor’s check-in.”
Here are some pointers for a useful pain log:
If you notice any of these, reach out to your provider without delay:
Wondering when you can jump back in? Many people start light desk work around week two to keep strain at bay. By day seven, driving and simple errands feel more manageable. Full shifts usually resume by week three.
To ease back into movement:
73% of patients say settling into desk work felt surprisingly comfortable by day ten.
Keep an eye out for these warning signs:
If any of these pop up, take a step back and rest for a bit longer.
Staying alert can help you catch complications before they escalate. Key red flags include:
40% of infection cases come with spreading redness or swelling beyond the surgical site.
To stay proactive:
Wondering how long to keep applying Revivol XR? Here’s a simple guide:
| Week | Applications Per Day | Expected Pain Score |
|---|---|---|
| 1 | 2 | 6–8 |
| 2 | 1 | 3–5 |
| 3+ | As Needed | Below 3 |
For best results:
Tracking your progress matters:
If your skin starts to itch or redden, stop use and check in with your provider.
No two recoveries are alike. Connecting with others who’ve been there can make a world of difference.
Think about:
Beyond digital support, consider:
Small practices often help with the mental side of healing:
Never hesitate to reach out to your surgical team if something feels off. Regular check-ins and open conversation are the best way to nip problems in the bud.
Ready to get started with Revivol XR? Visit Hemorrhoid.com to learn more and place an order today.


